
How to Make fun Chocolate Cigar Party Favours
Ingredients
What You’ll Need:
- Chocolate bars like Dipped Flake or Twirl
- Cellophane for wrapping
- Printed artwork
- Sticky tape
- Cardboard
- Cricut Maker 3 for custom labels
- Scissors
Instructions
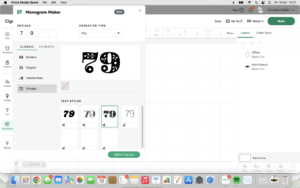
Design Your Label in Cricut design space:
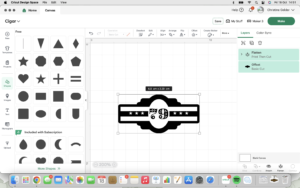
- Design the custom cigar label by adding a rectangle (6.5 cm x 1.2 cm), an oval (2.21 cm x 2.89 cm), and an inverted-corner rectangle (3.34 cm x 2.21 cm).
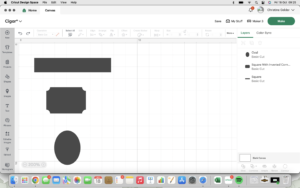
- Align and center the three shapes, placing the oval in front, the inverted-corner rectangle in the middle, and the rectangle behind.
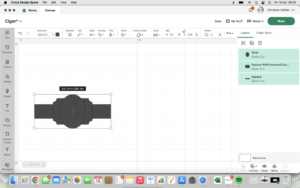
- Offset the oval by -0.2 and move it aside.
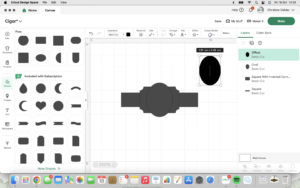
- Combine and weld the remaining shapes, then center the oval on top.
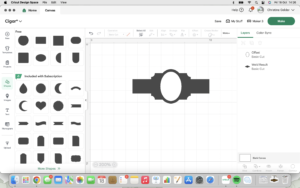
- Add a monogram or initials inside the oval using the Cricut's vintage style monogram tool.
- Complete the design by adding parallel rectangles for the cigar band and decorative stars.
- Ensure that you change the design elements from "basic cut" to "print then cut," with only the final offset remaining a basic cut.
- Don't forget to flatten the entire design (not the final offset) so that it merges into one cohesive piece before printing and cutting.
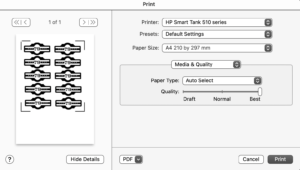
Print and Cut Your Labels:
- Once your design is ready, print the labels on white cardstock using the best print quality.
- Cut the labels (white cardstock) and offset (green cardstock).
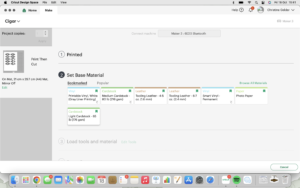
- Secure the cardstock to the cutting mat with masking tape.
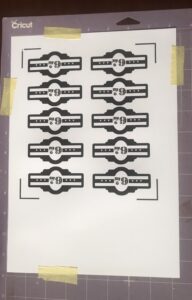
- Follow Cricut Maker 3’s instructions for cutting out the label shapes.
Assemble the Artwork:
- Glue your printed artwork onto the green background to create the cigar label.

Prepare the Chocolate:
- Unwrap the chocolate.
- Wrap the chocolate in cellophane to keep it protected and looking fresh.
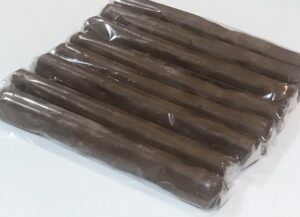
- Tip: Try to handle the chocolate as little as possible to prevent it from melting in your hands.
Final Assembly:
- Wrap the label around the chocolate cigar. Attach the label to the wrapped chocolate with tape, without sticking to the cellophane. Make sure it’s neatly aligned. Your guests will love these fun and creative party favours!
