Icecream Treat Box
A DIY Ice Cream Treat Box that’s simple to create and perfect for gifting to friends and family.
Equipment
- Cricut Marker (0.4mm, black)
- Dala Craft Glue
- Double-sided tape and foam tape
- Cricut Weeder
- Cricut Scoring Stylus
- Cricut Mat
Ingredients
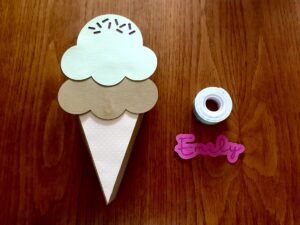
- American Crafts Textured Cardstock Mint, Caramel
- Lawn Fawn Textured Dot Cardstock Neutrals
- Dark Brown Cardstock
- Hot Pink Cardstock
Instructions
Preparation
- Open my project: Open my Ice cream Treat Box Project in Cricut Design Space.
Cutting
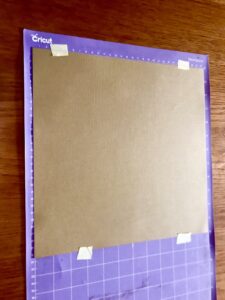
- Attach Cardstock to Mat: Secure the cardstock on your Cricut mat with masking tape.
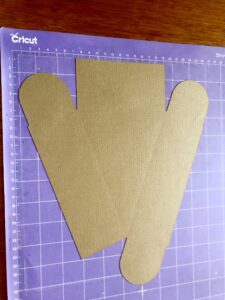
- Score and Cut: In Design Space, select score and cut for each piece. Use the Cricut pen to write the name in black marker on the hot pink cardstock.
Assembly
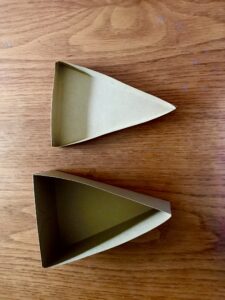
- Fold and Attach Tabs: Fold along score lines, using double sided tape or glue for secure attachment.
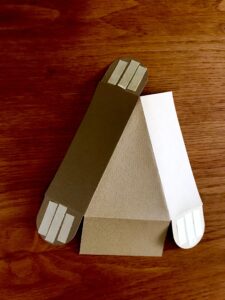
- Assemble Lid: Fold the lid’s score lines and attach the tabs with double sided tape or glue.
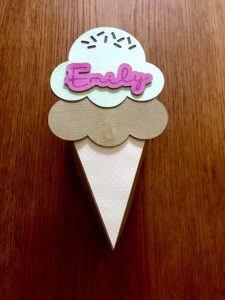
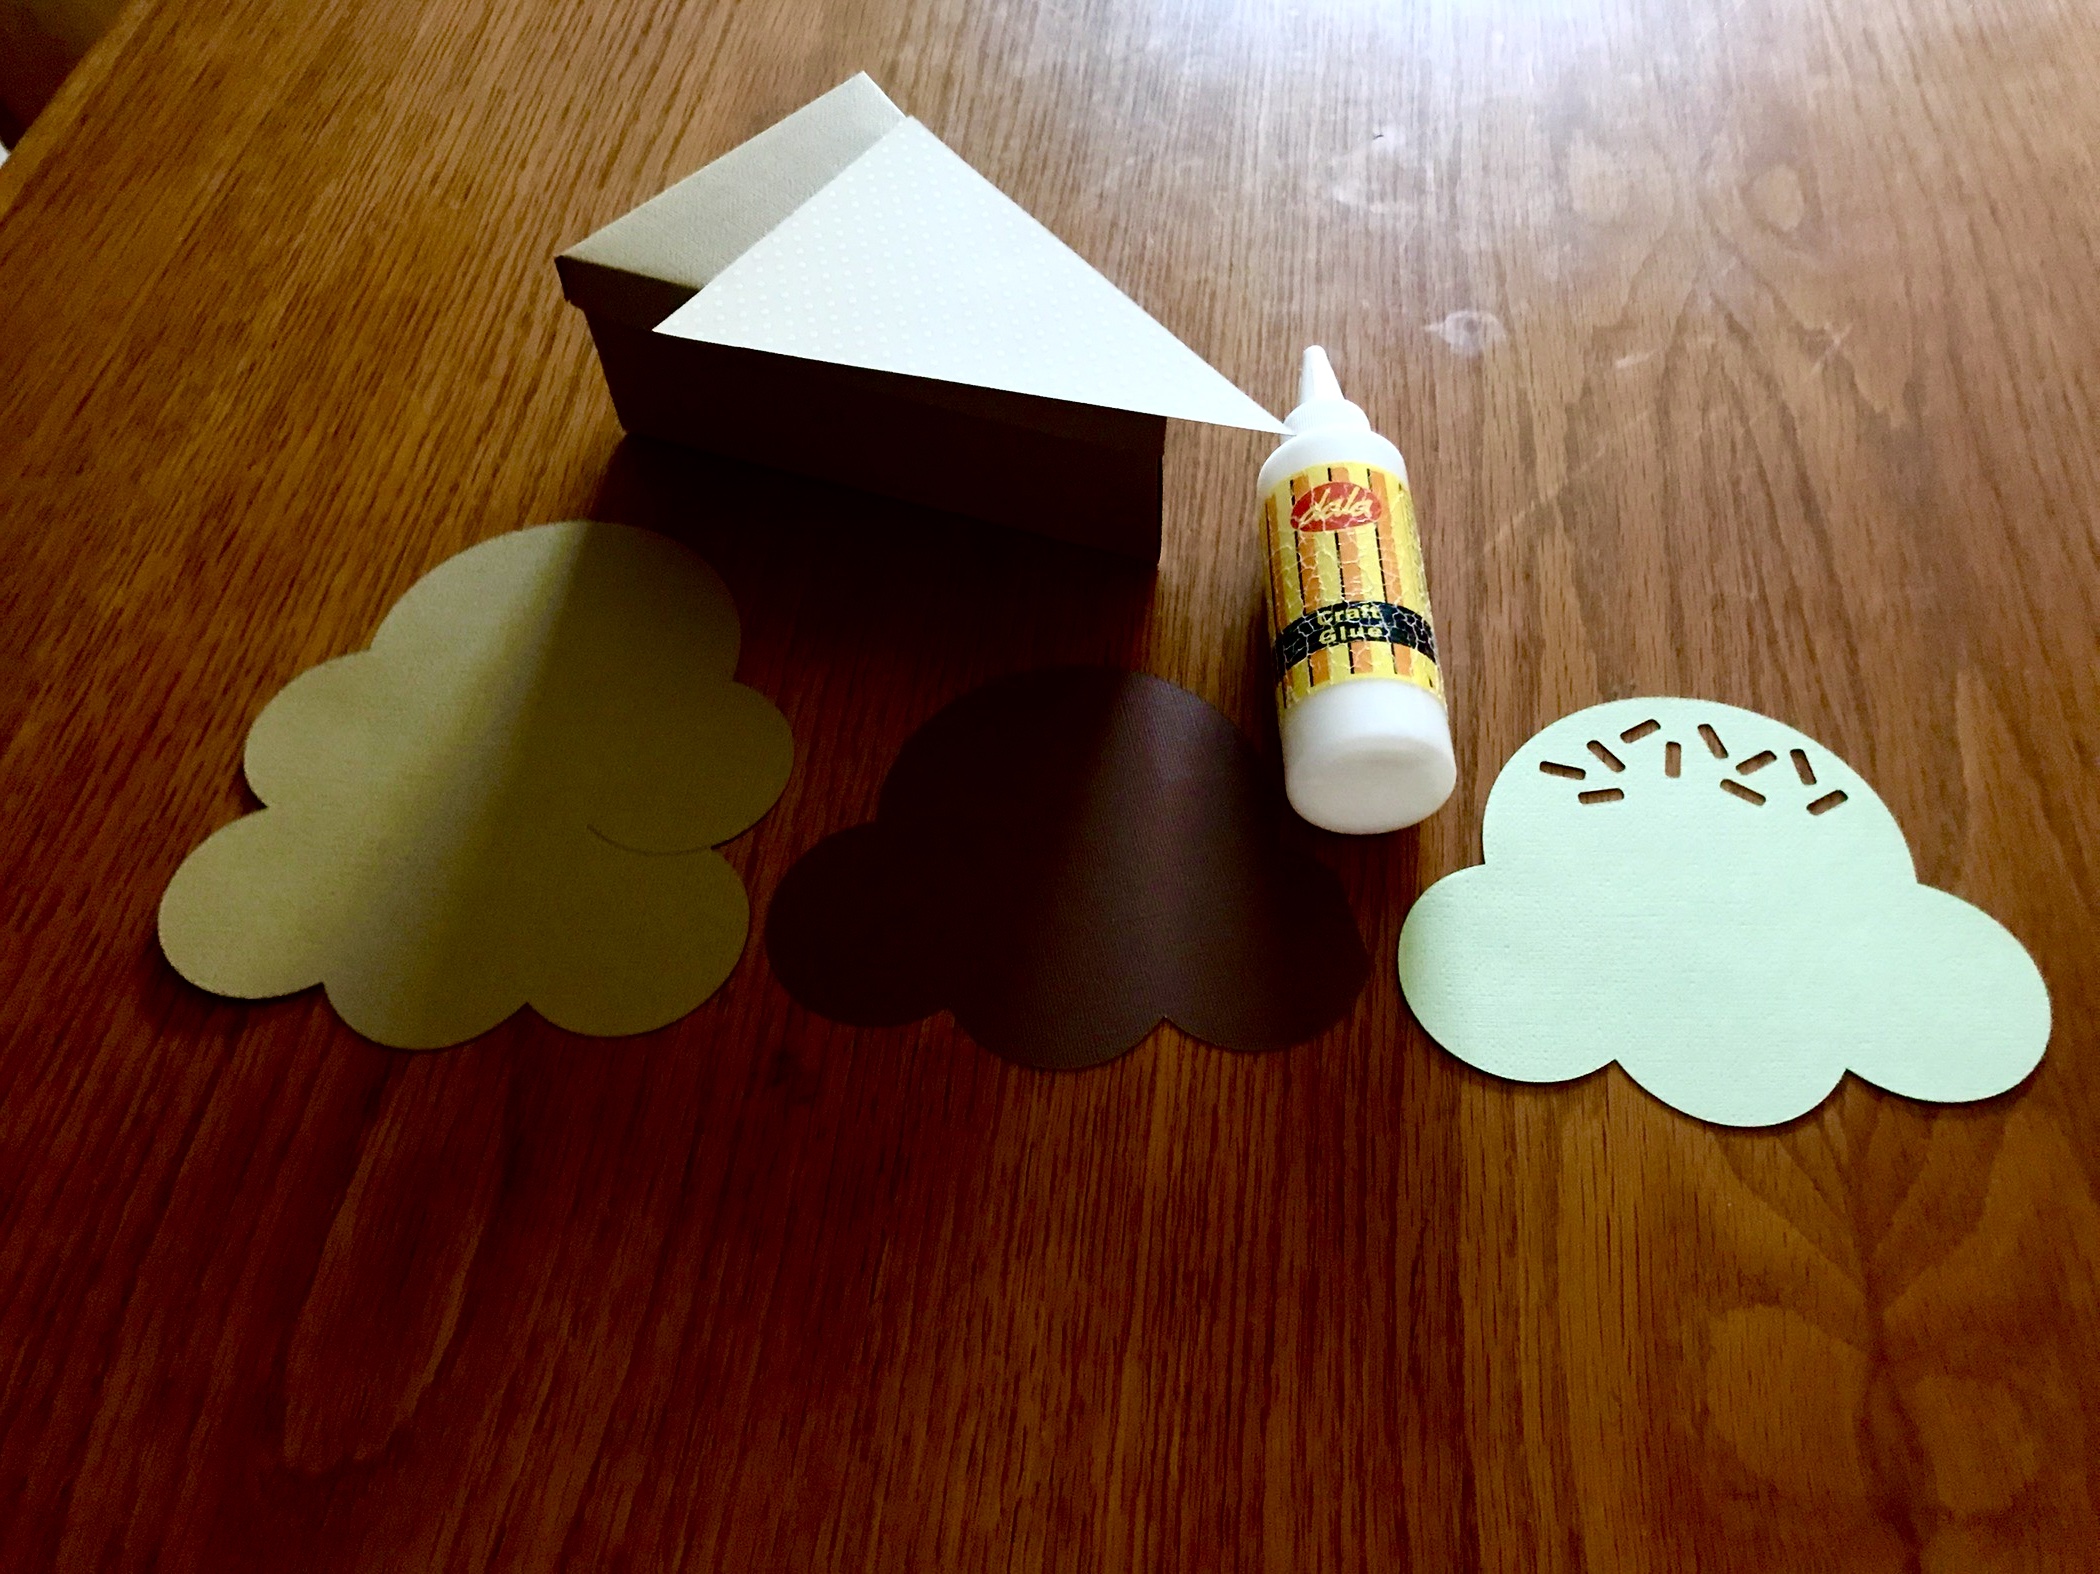
- Create Ice Cream Design: Glue the cone piece on top of the box. Glue the 3 layers of ice cream scoops.
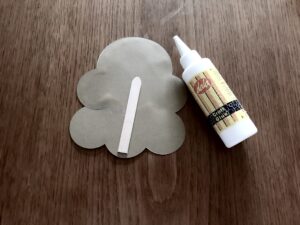
- Add Support: For stability, glue a small wood piece or ice cream stick behind the scoops.
- Attach Scoops to Box: Place a container behind the scoops to hold them while drying.