
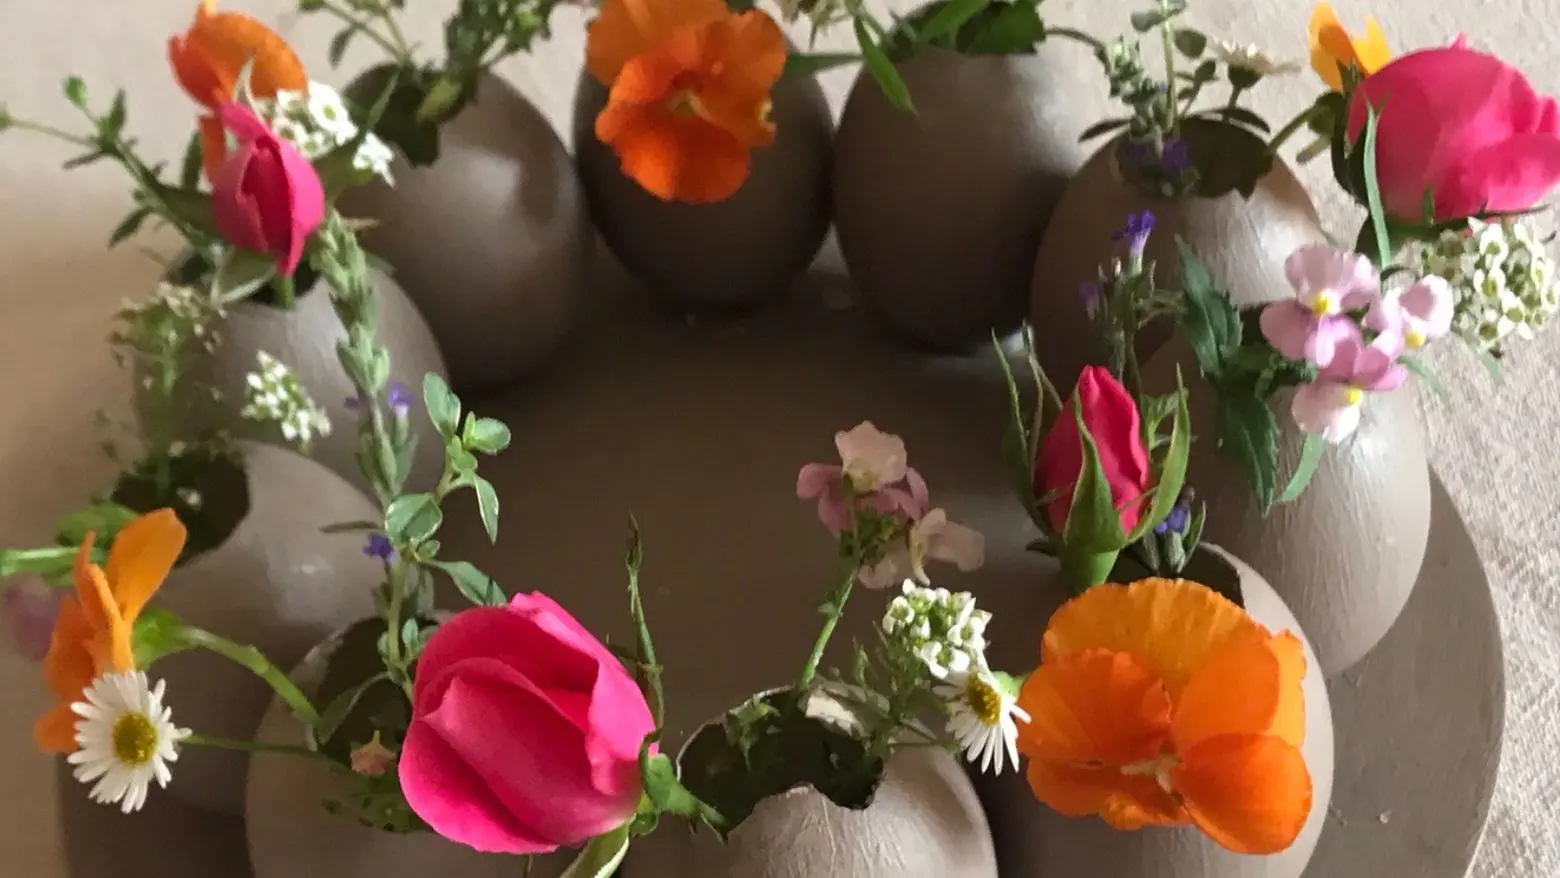
This DIY Easter centrepiece is a simple yet stunning way to decorate your Easter table. Whether you’re hosting Easter brunch, lunch, or a relaxed family gathering, this Easter egg centrepiece adds a beautiful handmade touch to your celebration.
With just a little creativity and a few basic supplies, you can transform everyday eggshells into a rustic Easter arrangement filled with fresh garden flowers and a softly glowing central candle. Not only is this Easter centrepiece easy to make, but it’s also eco-friendly and budget-friendly. As a result, you create a meaningful, handcrafted table decoration that will truly impress your guests.
Why You Will Love this DIY Easter Centrepiece
- Inexpensive and uses natural materials
- Customisable to your favourite colours
- A fun and relaxing craft activity
- Beautiful addition to your Easter table
This Pretty DIY Easter Egg Centrepiece adds a personal, heartfelt touch to your Easter celebration. Whether you’re decorating for a festive meal or simply adding seasonal charm to your home, this handmade masterpiece is sure to bring smiles and spark conversation.
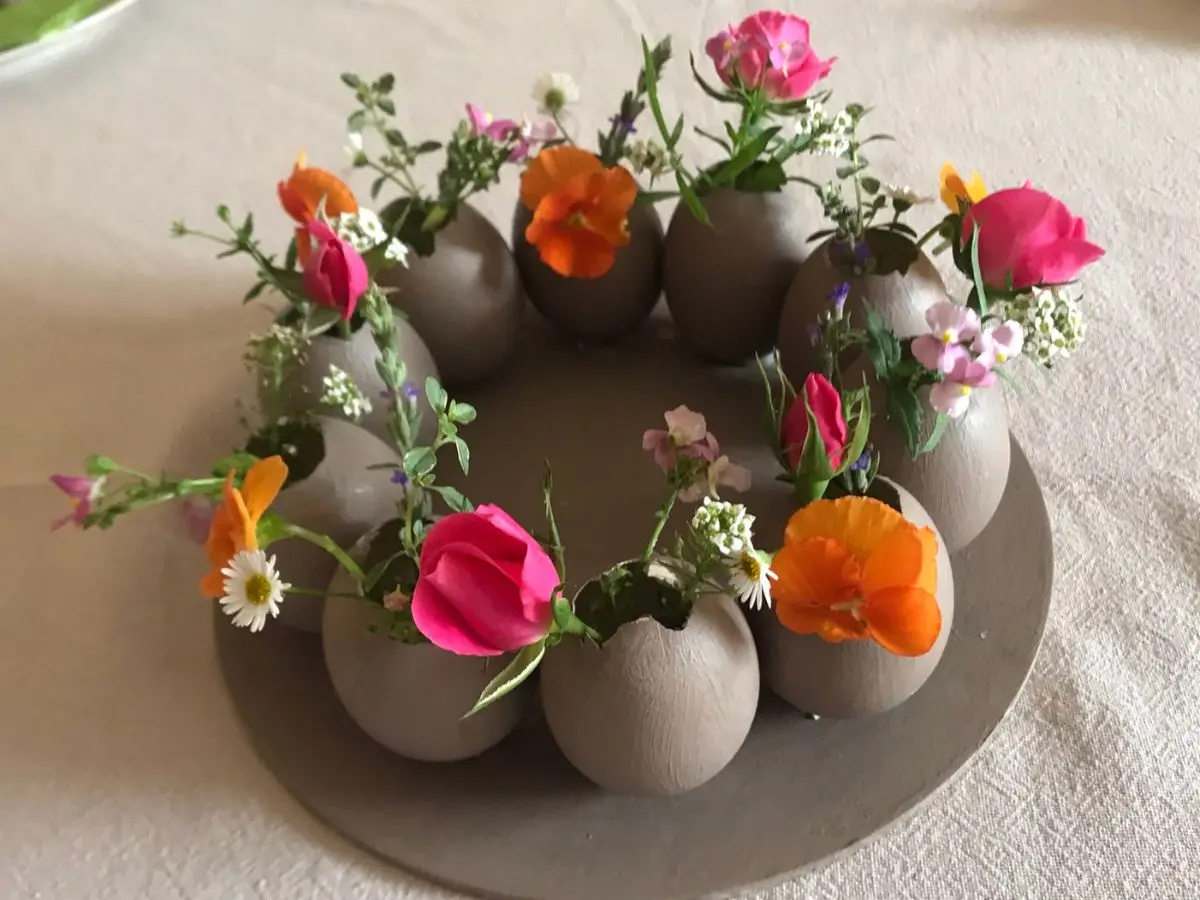
DIY Easter Centrepiece
Equipment
- Hot glue gun and glue sticks
- Pencil
- Paint Brushes
- Kebab Sticks
- 1 Knife
- 1 Small nail scissors
Ingredients
- 10 – 12 large eggs collected when baking
- Annie Sloan Chalk Paint in Coco or colour of your choice
- Annie Sloan Chalk Paint Lacquer
- 1 round wooden circle (20cm) available at craft stores
- Double-sided foam squares
- Fresh flowers from the garden
- 1 pillar candle
Instructions
Prepare the Eggshells:
- Gently wash and dry large eggs.
- Using a sharp knife, make a small hole at the top of the egg. Carefully chip away the shell bit by bit until the hole is big enough to pour out the contents.
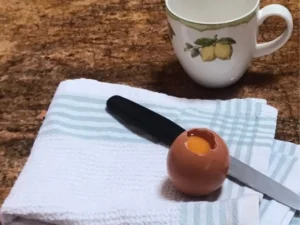
- Save the egg whites and yolks for baking something delicious.
- Thoroughly wash the inside of the shells and allow them to dry.
- Break away the top of each egg to create approximately a 2,5cm opening for your flowers. – Tip – you can carefully cut the eggshells using a small nail scissors.
Paint and Seal:
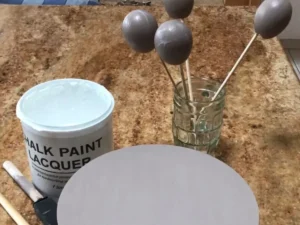
- Coat the eggshells and the wooden circle with chalk paint using paint brushes. I used Annie Sloan’s Coco—a rich, earthy hue that’s perfect for a rustic look.
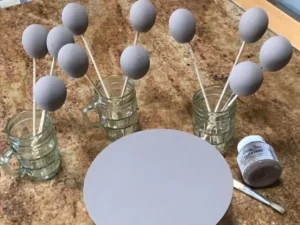
- To make drying easier, place each painted egg upright on a kebab stick propped in a cup.
- Let everything dry completely.
- Apply a layer of chalk paint lacquer to protect and give a subtle sheen.
Layout and Attach:
- Lightly sketch two pencil rings on your wooden base—a smaller inner ring and a larger outer ring—as a guide for placement.
- Use double-sided foam squares to plan and space your eggs before final gluing.
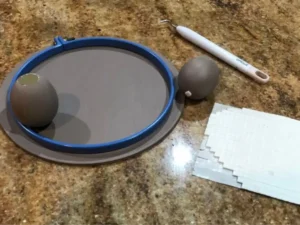
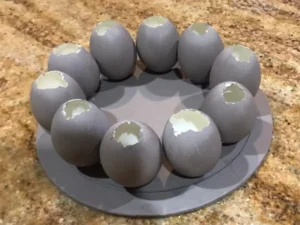
- Once satisfied with the arrangement, glue each egg into place using hot glue.
Decorate:
- Tuck tiny seasonal blooms—like daisies, lavender, or wildflowers—into each eggshell.
- Place a pillar candle in the centre for a glowing, magical finish.

Get the Right Tools for this Easter Centrepeice

|

|

|

|

|
|
Description: Smooth wooden rounds, perfect as a painted base for your Easter centrepiece. |
Description: Sharp paring knives ideal for safely preparing blown eggs. |
Description: Easy to use foam squares to plan and space your eggs before final gluing. |
Description: Neutral chalk paint, ideal for painting egg centrepiece. |
Description: Clear matte sealant to protect your finished centrepiece. |
Smooth wooden rounds, perfect as a painted base for your Easter centrepiece.
Sharp paring knives ideal for safely preparing blown eggs.
Easy to use foam squares to plan and space your eggs before final gluing.
Neutral chalk paint, ideal for painting egg centrepiece.
Clear matte sealant to protect your finished centrepiece.
Why I Love Using Annie Sloan Chalk Paint®
I love using Annie Sloan Chalk Paint® because it’s incredibly easy to use, adheres beautifully and creates an elegant finish without complicated prep work. If you’d like to explore the full colour range, you can browse the official Annie Sloan website for inspiration and techniques.
Variations of this Easy Easter centrepiece
- Use pastel paints for a soft, traditional Easter palette
- Add speckled paint effects for a realistic egg look
- Choose artificial flowers for a long-lasting version
- Accent with moss or feathers feathers
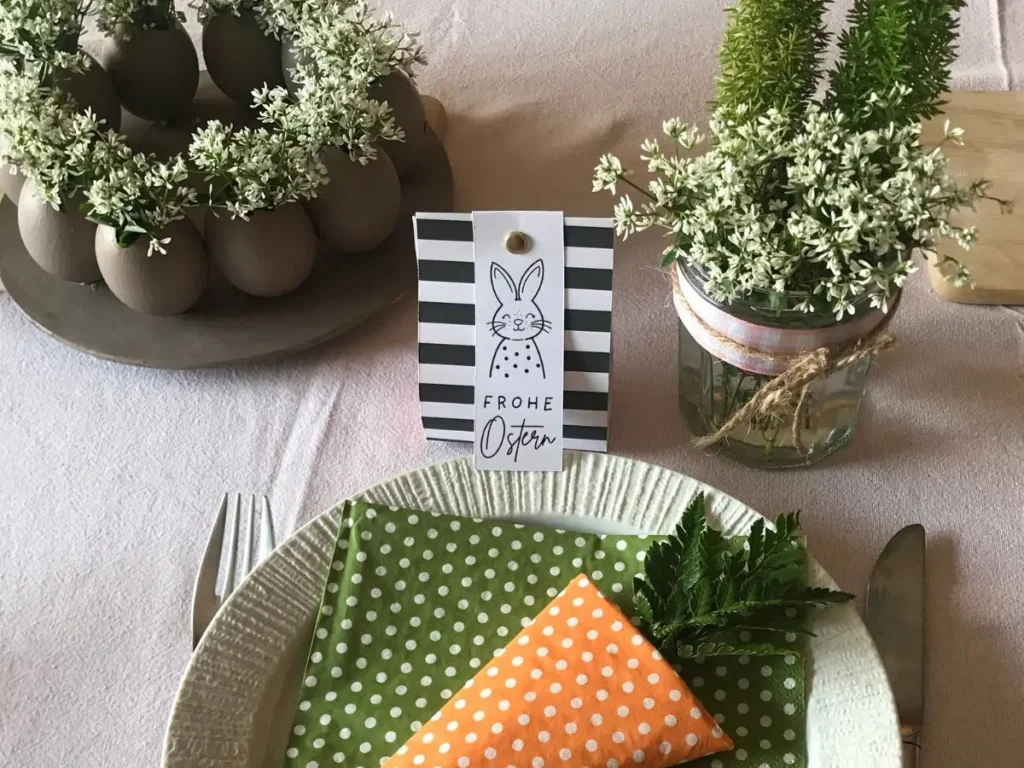
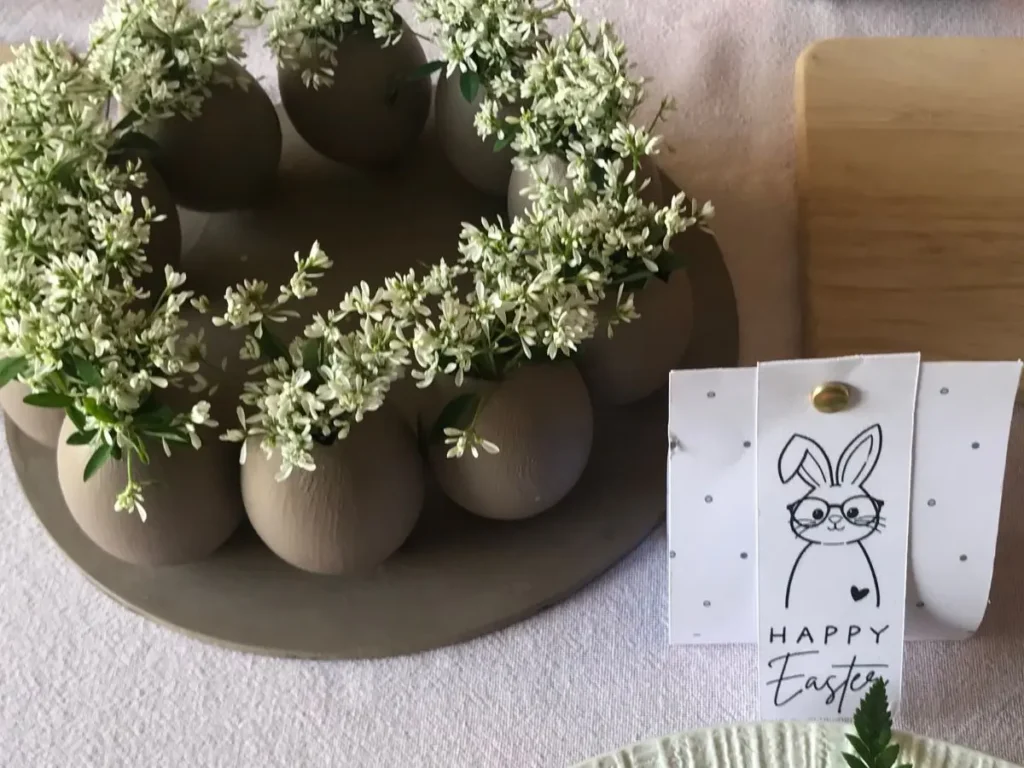
This variation keeps things soft and simple with delicate white blooms. It creates a fresh, elegant look that pairs beautifully with a neutral table setting. Simple details like these make the table feel thoughtful, relaxed, and effortlessly put together.
Frequently Asked Questions
Ideally, yes. Coordinating colors and themes with your tableware, napkins, or placemats creates a polished, festive look. You can choose soft pastels, bold spring hues, or neutral tones depending on your style.
Typically 2–3 days. You can easily swap them out as needed.
Yes – just handle with care. Once sealed and dried, the shells can be quite sturdy.
A wooden circle of 25–30 cm (10–12 inches) in diameter is ideal for 10–12 eggs.
I Would Love to Hear From You
Have you made your own Easter egg centrepiece? Share your ideas and photos – I’d be thrilled to see what you create!
More Treats and Ideas You’ll Love
If you’re planning a beautiful Easter table or simply love baking and crafting, here are a few popular ideas and recipes from my blog that pair perfectly with this Easter centrepiece:
- Carrot Cake – To start with, this timeless favourite is topped with smooth cream cheese icing and works beautifully for Easter brunch or an afternoon gathering.
- Chocolate Cake – If you’re looking for something more indulgent, this rich and satisfying cake is wonderfully easy to bake and always a firm favourite with guests.
- Tea Biscuits – For something lighter, these simple buttery biscuits are perfect for gifting or serving alongside a warm cup of tea or coffee.
- Carrot Favours – In addition, these sweet and creative party favours add a playful and charming touch to your Easter table.
- Oats and Apple Breakfast Cake – Finally, this wholesome breakfast cake is ideal for Easter morning and pairs perfectly with double cream yoghurt.
Save This Easy Easter Centrepiece Idea
Planning a beautiful Easter table? Pin this charming eggshell centrepiece for inspiration!